Posts about apartments in mount vernon

Benefits Of Choosing a First Floor Apartment-image

When it comes to apartment hunting, you might think you want the highest floor and the best view, or to be away from the noise of residents coming and going or talking outside. You may also estimate that you'll be safer from the risk of theft. For these reasons, first-floor apartments tend to get a bad reputation. But is it really justified? There are actually many benefits to renting a ground floor apartment! Moving in is much easier Avoiding the stairs makes moving in so much easier. Trying to lug heavy furniture up narrow stairwells is a hassle, even for pros. It's not much better trying to cram your belongings into an elevator. First floors do away with all these challenges. Getting in and out is easier/more convenient Not having to deal with stairs and elevators is always appealing to the senior population. If you're shopping for an apartment for a parent or elderly friend, the first floor deserves a serious look. Apartments for disabled renters are typically on the first floor, too, to be near the parking. Heat rises: you'll be cooler in the summer If you live in a southern state, you know how brutal the summer months can be. Living on an upper floor can be tough. Your cooling bill is higher just trying to keep the place comfortable. You don't have that problem to the same degree in a ground floor apartment. Lower cost There's no denying it: many people prefer an upper-level apartment for security reasons. Choosing the first-floor apartment, then, can mean paying less in rent each month. Because heat rises (see above) you could also have a lower utility bill. A westward-facing window could offset this, however. You don't have neighbors below you When you live in an upper floor unit, you have neighbors below you, hearing your every move. However, when you're on the first floor, you don't have to worry about how walking about in shoes, moving furniture or letting your kids or dog run around a bit affects the neighbors. This is especially true if you have small children. With today's trend toward hardwood floors, this is more of an issue than ever. Courtyards and gardens Living on the ground floor allows you easy access to the courtyards, gardens and green space of your apartment community. It's like having an extended patio. Proximity to your car or bike Not having to climb stairs or wait for an elevator is a real blessing, especially when you've worked a long day or come home with lots of groceries. And if you forget something in your car or apartment, it's only seconds instead of minutes to retrieve it. If you enjoy cycling, it's great to step outside and jump on your bike. And if you have to store your bike inside your unit, think of the hassle you save by being at ground level. You might even find that easy proximity to the great outdoors serves as a catalyst for all sorts of outdoor activities, from swimming to walking. Pets Pets can manage stairs, but they don't necessarily love them. And other residents don't necessarily love sharing an elevator with animals. Being on the ground level solves all the above, plus gives you quick and easy access for early morning or late-night dog walks. A fenced patio at ground level is a huge bonus for you both to step outside Proximity to the mailboxes Your mail comes nearly every day. It's pretty nice to quickly step out and grab it. There's a lot to be said for ground floor apartments. If you're on a tight budget, first-floor apartments can give you a good bang for your buck. A landlord's first priority is to occupy all the units, and that can be a good bargaining chip for you regarding price on a first-floor unit. There are many beautiful and affordable first floor units out there; it just takes a little searching to find the one you love. 500 Park Avenue

Read more
Your Dishwasher Can Be Used For Other Things Too-image

Though it sounds crazy, your dishwasher is capable of washing so much more than just your dishes. Learn how this cleaning powerhouse can sanitize, clean, protect and extend the life of things other than dishes! Shoes Like our title says, you can put the sneakers in the dishwasher. (Just don't combine them with your dishes). Shoes get a lot of wear and get dirty very quickly. If you have little kids running around who like to get their feet dirty, this is a tip you'll definitely want to use. Before putting a pair of shoes in the dishwasher to be cleaned, give them a once-over to look for any extremely dirty spots that may need scraped or scrubbed off before going in the wash. Make sure the open part of the shoe is over the rungs of your bottom dishwasher rack and that the bottom part of the shoe is facing up. After that, run the dishwasher with your normal dishwasher detergent. Remember to turn off the "heat dry" option or you might end up with a shrunken pair of shoes. Remove them from the dishwasher once the cycle is finished. Let your clean shoes dry overnight. FUN FACT: You can also clean your flip flops on the top shelf of the dishwasher. Keys Think about it - your keys go wherever you go and can get touched by a lot of hands. Your keys are probably covered in germs. It's not recommended to put key fobs in the dishwasher, but simple metal keys can be put in your silverware holder for a wash cycle. They'll come out shiny and sanitized. Dog Supplies Dogs love their toys. They love them so much that they'll claw and drool all over them. Needless to say, they need a little extra cleaning from time to time. Most of your dog's supplies can be run through the dishwasher. Skip the detergent and just use a little vinegar instead. Soaps often contain chemicals that are harmful to pets, but vinegar works as a disinfectant. Their dishes, plastic toys, collars and leashes (not made of leather), can all be cleaned in the dishwasher without the "heat dry" setting. Makeup Brushes These brushes pick up a lot of gunk after each use. Then, they get used again each day without a thought. A quick cycle in the dishwasher gets them clean and extends their lifespan. Makeup brushes can go in the silverware holder to be cleaned and sanitized. Once a month is usually enough for this thorough cleaning. Ensure that the brushes are completely dry after you clean them. Garden Tools and Hand Tools It's pretty obvious that your garden tools can pick up some dirt after each use. Other metal and hand tools with plastic handles can also be cleaned in the dishwasher. After the dishwasher cleans off the grit and grime, do not use the "heat dry" option and remove the tools immediately to dry by hand. Drying by hand lowers the chance of rust forming on the tools. Plastic Children's Toys It's no wonder that your child's toys might need a quick wash to get rid of all the germs they pick up: those toys get around. Plastic kids toys of all kinds can be placed in the dishwasher for an easy sanitation. If you have a bunch of small plastic toys (legos, small game pieces, blocks, etc.), they can be put in a mesh bag so they don't get lost and fall through the racks. Important: Turn off the "heat dry" option to avoid any melted toys. As you can see, your dishwasher works to clean more than just your dishes. Save a few minutes and use it to clean and sanitize other items around your house, you'll be glad you did! 500 Park Avenue

Read more
Cooking Hacks-image

Living in such a fast-paced, exciting urban area, it's easy to get carried away with experiencing everything it has to offer - especially the restaurants. But dining out every meal can burn a large hole in your pocket, fast, and can put you in a compromising position with your health & weight. Some argue cooking at home is inconvenient, time-consuming and soaks up what little space you have in your city side apartment. Luckily there are ways to hack the system and cenare all-interno (dine inside) on little money, with no fancy gadgets necessary, and save yourself some calories to boot. Here are some genius at-home cooking tips from the experts at Food & Wine. Breakfast: Poaching the perfect egg is easier than it looks. The secret is starting with a simple household ingredient: distilled white vinegar. First, soak your eggs in the vinegar for about five minutes. Crack our egg into a small dish or bowl, making sure not to break the yolk. With a pan of simmering water on the stove, slide your egg from the dish into the water. You'll notice it immediately begin to cook; use a spoon to move it around the water to cook evenly. After about four minutes, remove it from the water with your spoon and your egg is perfectly poached and ready to eat. Fresh, homemade pancakes are delicious and fun to make, but they often leave a big mess in your kitchen that you won't enjoy cleaning up later. Make it mess free by throwing your ingredients in a zip-lock bag and mix your batter either with a whisk or kneading it by hand. Gather the batter into one corner so it resembles a cake-icing bag and cut the tip. This provides you with the ability to make perfectly round pancakes, just the size you want, or even create other shapes like hearts, diamonds, or whatever you come up with! Lunch: Deviled eggs are a summertime staple and a beloved treat among folks of all ages. But the only thing worse than having bits of shell stuck to your hard-boiled egg, is mangling the egg whites while trying to make your precious picnic favorite. Using a simple household teaspoon will help you effortlessly peel your hard-boiled egg and make your life simpler. Take the cooked egg and hit the bottom of it (the widest part) on your counter or hard surface. Gently peel away only a small portion of the shell. Take the teaspoon and slide it under the thin layer of skin that sits between shell and egg. Carefully move the spoon around the egg to remove the skin and shell. Voila! The hardest part about eating kiwi is cutting off the tough skin and wasting most of your fruit in the process. Similar to the hard-boiled egg, cut off the stem-end of the kiwi, only about 1/8 of an inch. Then take your teaspoon and slide it under the skin, moving it around the whole thing until it lifts away. You can gauge your progress by using your thumb and feeling for the spoon underneath the skin, careful not to press it into the fruit. Pinch the kiwi out of its skin and there you have it, effortless fresh fruit. Sandwiches always taste better on a fresh baguette from the local bakery. But if you've had your loaf long enough that it begins to sag and the ends are hard, it's no longer fresh and appetizing. Or is it? Next time your baguette has gone stale, run some water over the loaf to lightly coat it. Throw it in the oven at 450 degrees for 5-7 minutes. When it comes out, the exterior should crackle and crunch when you press it, and the inside should be soft and fluffy. Dinner: Oyster Bars do all the work for you, and for good reason--it's hard to shuck an oyster shell. However, you can save money by eating the delicate meat at home, and with this tip you won't kill yourself trying to pry it open. If a stubborn one is giving you trouble, pop it in the microwave for about twenty seconds. The heat will help expand the oyster shell and make it easier for you to crack it open. Then, using a knife, insert it at the hinge, where the top and bottom shell meet. Once the knife is partially in, use a turning motion of the wrist to open it the rest of the way, almost as if you were turning a door knob. But you'll want to make sure your wrist does not bend, and that your whole arm is creating this motion. If that still doesn't work, though, throw in the towel and head over to Ryleigh's before you hurt yourself. Dinner parties aren't complete without decadent gourmet cheeses as an appetizer. But cutting these soft cheeses smoothly and cleanly is sometimes difficult and can mangle your expensive Brie. Using simple unflavored dental floss will solve that issue. Just as you would floss your teeth, wrap the ends around your fingers so the string is taut, and slide it down the roll of cheese until it breaks through the other side, a clean cut. For triangular cuts, place the floss at the ends of the triangle, long-ways. Criss-cross the two ends as the string moves along the cheese smoothly. And there you have it, clean cut cheese for your party platter. Poaching salmon is one of the healthiest ways to prepare this delicious fish. An easy and mess-free way to poach salmon is by placing the filets in a zip-lock bag (add seasonings and lemons, if desired) and lowering them into a boiling pan of water. After a few minutes, remove the bag from the water with tongs, and pinch the ends of the salmon while still in the bag. If it begins to flake away, the filet is cooked and is ready to serve medium rare. For medium or medium well, place the bag back in the water for a few more minutes. Now that you have a few cooking hacks under your belt, you can skip the pricey plated dinner and host your own gourmet meal right in your apartment home. 500 Park Avenue

Read more
How to Get Rid of Mosquitoes-image

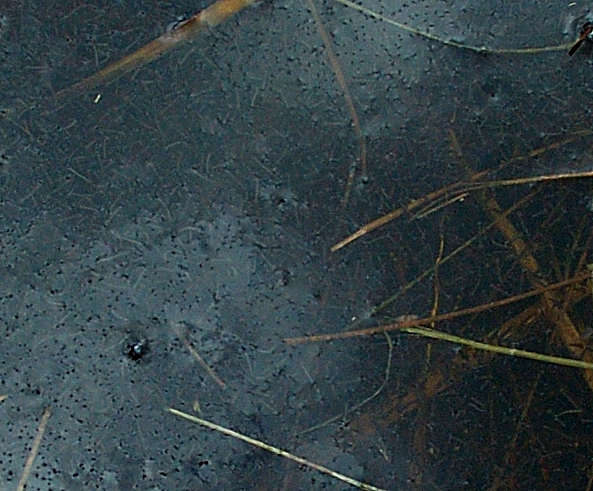
The beautiful weather in the summer makes you want to be outside all day and all night, but your enjoyment of the outdoors can easily be ruined by the appearance of mosquitoes. These bloodsucking flying pests seek out human hosts to feed on, but you have a few options to help keep your cookouts and pool days bug-free. [caption id="attachment_503" align="alignnone" width="300"] https://www.flickr.com/photos/rob_swystun/[/caption] The easiest way to get rid of mosquitoes is to eliminate the places they can breed. Mosquitoes lay their eggs in and around standing water, the bugs need only a small pool or puddle (around 6 inches in diameter and 1/2 inch deep at a minimum). Look for and drain any flower pots, decorative buckets or dishes, and even tarps that might cover your grill or yard items; if the tarp is loose, water can pool in the folds. [caption id="attachment_506" align="alignnone" width="300"] https://www.flickr.com/photos/teo/16560278/[/caption] If there are troublesome spots that seem to fill with water no matter what you do, look for mosquito dunks, or mosquito bits. These come in a small ring or handful of pellets that you drop right into the water, and they kill off the mosquito larva. They contain a biologic pesticide, mostly a bacteria that feeds on the larva, and are safe for children, pets and other wildlife. If you are already in the midst of an infestation, there are a couple of ways to keep the bugs at bay. Using essential oils, or burning a candle loaded with essential oils, is a time-tested method to keep insects away. Look for citronella or lemon eucalyptus oils, available as an oil, a spray or in candle form. However, there might be an easier solution that could help keep flying bugs from pestering you. An electric fan could be the key to keeping your cookout bug-free. Mosquitoes and flies are not the strongest flyers, so a simple oscillating fan can help push them away from people and food. Additionally, mosquitoes are attracted to the carbon dioxide that we exhale, as well as other scents released when we sweat. A fan might help disperse these fumes, so you will be less of a target for the biting insects. [caption id="attachment_502" align="alignnone" width="300"] https://www.flickr.com/photos/jeepersmedia/[/caption] If all else fails, it's time to reach for the bug spray, which can give you a few hours respite from the bloodsuckers. Look for sprays that contain DEET or picaridin, two formulations that are reported as highly effective scientific studies and customer reviews. Picaridin is recommended especially if you find that a spray with DEET irritates your skin. Look for products that contain 15 to 30 percent DEET or 20 percent picaridin. Follow the safety instructions on any bug spray you buy and apply.

Read more
Summer Cleaning-image

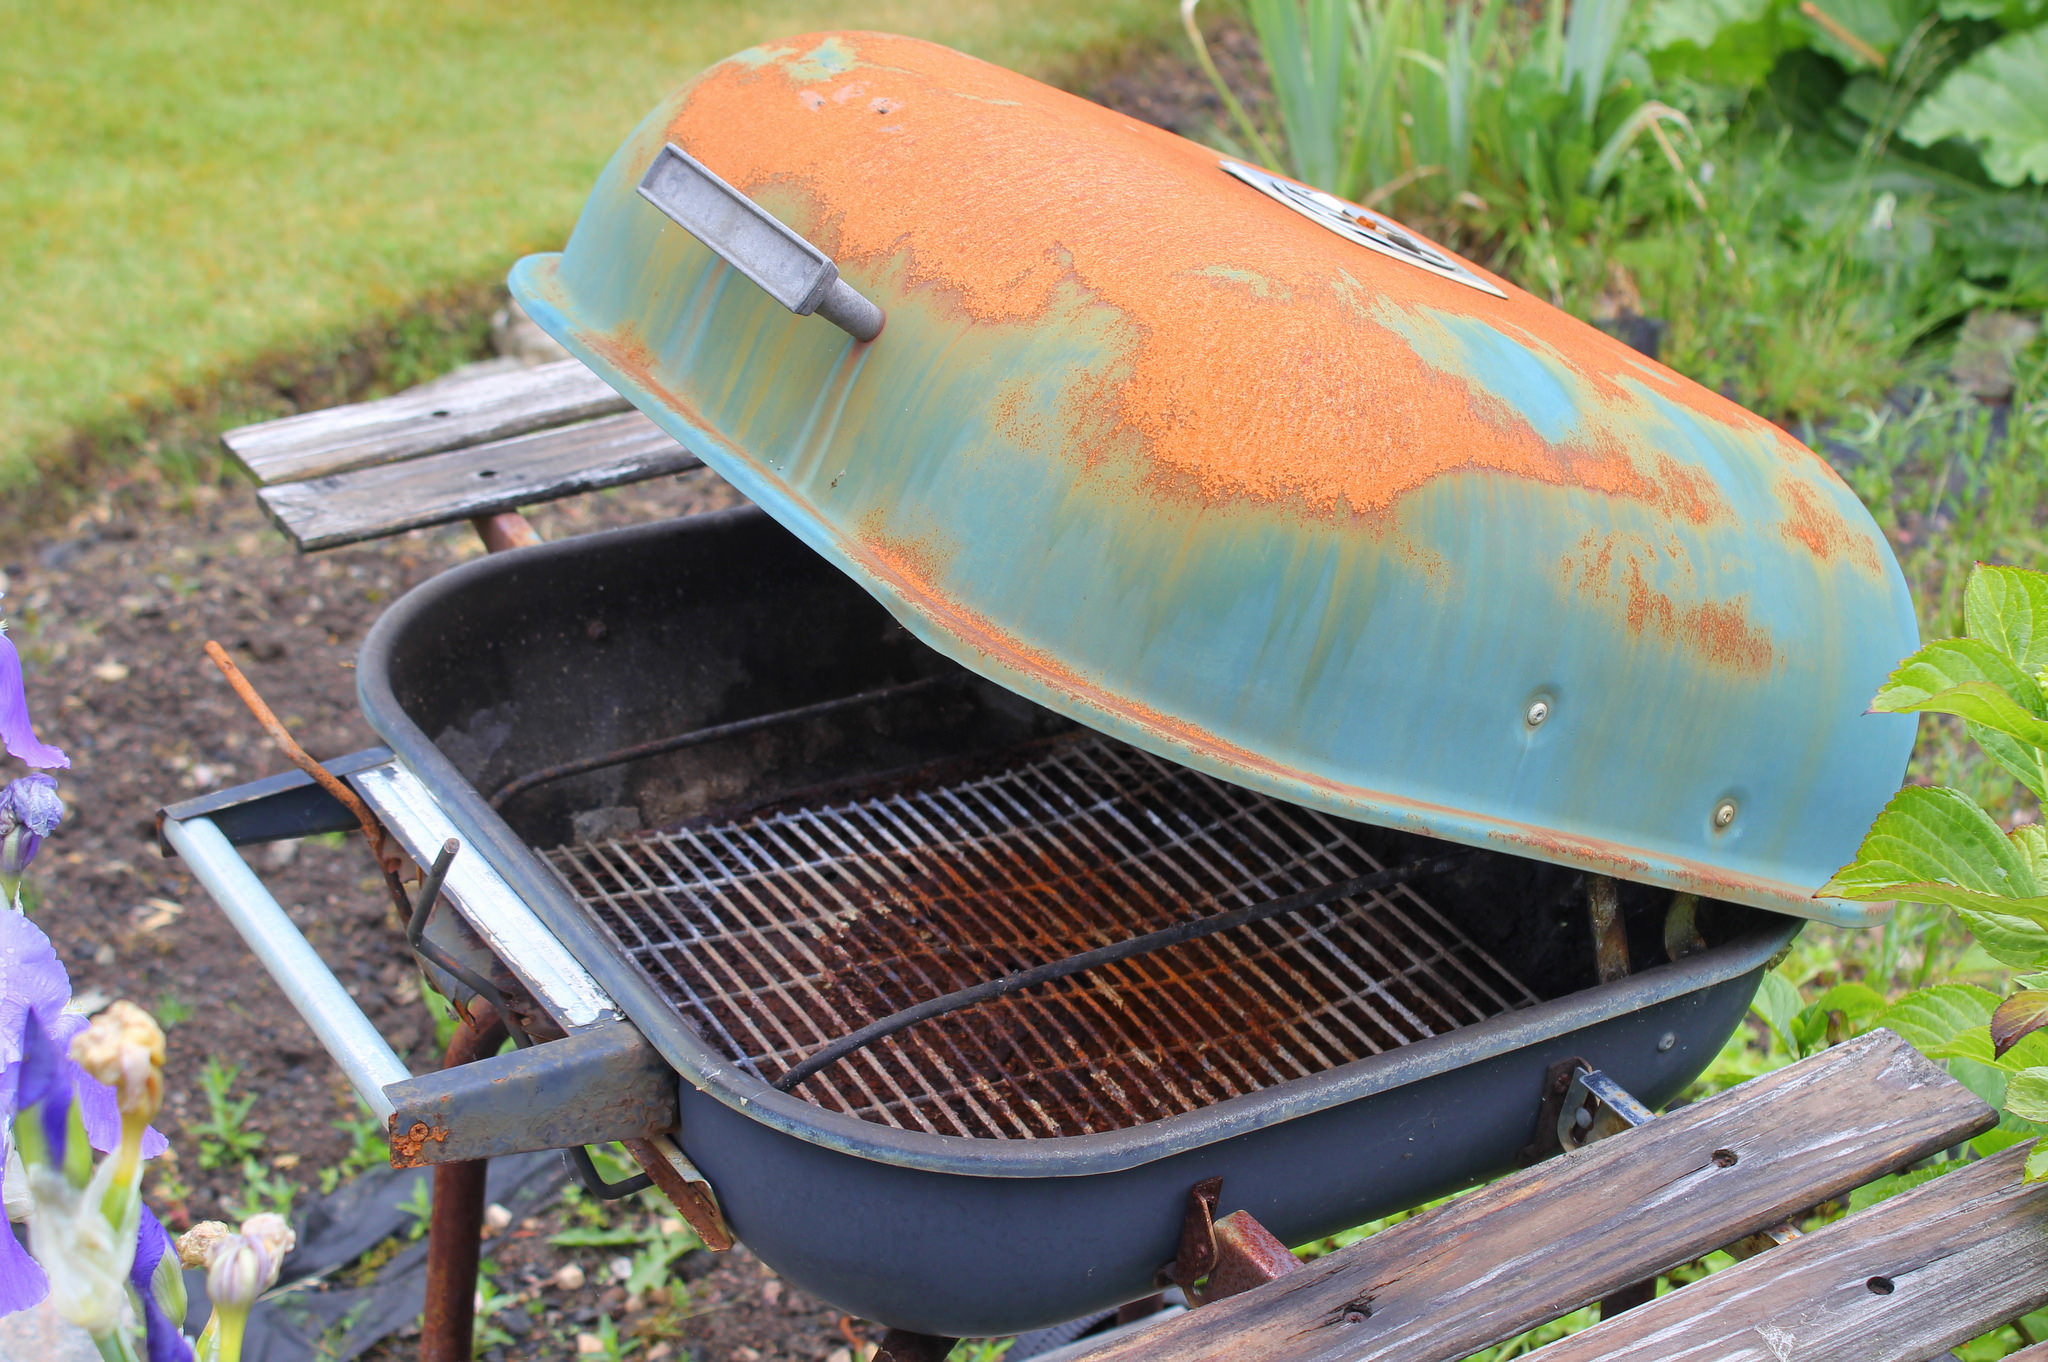
Maybe you waited a little too long for spring cleaning, or maybe the warm weather and outdoor activities set back all your progress. Either way, use these tips to try to conquer the clutter and survive the summer. Clean out your fridge [caption id="attachment_57" align="alignnone" width="225"] https://www.flickr.com/photos/jacopast/[/caption] When you are piling up the meats, plates and condiments for a backyard barbecue, take stock of what you are bringing outside, and what you are leaving. Can't remember how old that bottle of mustard is, and whether it is from this summer or the one before? Ditch it and pick up a fresh bottle, you and your guests' taste buds will thank you. Did you buy that jar of relish for a family member who was in town, but no one in your house will touch the stuff? Ditch it. Check the fridge and freezer for items that have seen better days, odds are that you'll never use that frozen chicken breast from 2014. Make sure your tools are up for the job. At the end of last summer, maybe you left out your barbecuing tools, or just a stray spatula or pair of tongs. Depending on where you live, the fall and winter might have left your tools warped, rusted or broken. Now it's time to treat yourself to some new tools. This also applies to any other gear that may have spent the winter outside and has been rendered unusable. If your grill has succumbed to rust, it might be time to get a new one. [caption id="attachment_61" align="alignnone" width="150"] https://www.flickr.com/photos/gspiccies/[/caption] In the same vein, look around your kitchen and house for things that may have seen better days. Is there Tupperware or other food storage containers in your fridge or cabinet that might have taken on some funky odors? Are your other containers a jumbled mess of missing lids and mismatched pieces? A simple refresh of your food storage containers can help you become more efficient and safer when it comes to your leftovers and packed lunches Prepare for mosquitoes and flying pests While not technically summer cleaning, everyone knows the warm weather brings an increase in flying pests. Whether they are out for your food or your blood, use these tips to try and keep them away. The easiest way to get rid of mosquitoes is to eliminate the places they can breed. Mosquitoes lay their eggs in and around standing water, the bugs need only a small pool or puddle (around 6 inches in diameter and 1/2 inch deep at a minimum). Look for and drain any flower pots, decorative buckets or dishes, and even tarps that might cover your grill or yard items; if the tarp is loose, water can pool in the folds. Using essential oils, or burning a candle loaded with essential oils, is a time-tested method to keep insects away. Look for citronella or lemon eucalyptus oils, available as an oil, a spray or in candle form. If you find that mosquitoes and flies are becoming an unbearable nuisance, a lot of experts are offering up a simple solution: an electric fan. Mosquitoes and flies are not particularly strong fliers, so a ceiling fan or rotating fan should be able to disrupt them on their path to you or your food. The fans also help dissipate your human odors and the carbon dioxide that you breathe out, two ways mosquitoes know where you are. Finally, that fan will provide a welcome breeze to get you through even the hottest days.

Read more
Moving and Packing Tips-image

Flickr/Diselfliege Congrats on your new home! Now you just have to figure out how you're going to pack and move everything without breaking the bank, your fragile lamp, or your back. Good thing we put together this list of 10 easy moving and packing tips that will make your move dead simple. How do we know these tips will make your move dead simple? We asked expert movers, packers, and professional organizers to share their best tips. So sit back, grab a snack, and dive in! 1. Get rid of everything. Okay, maybe not everything, but the more unused and unnecessary items you eliminate from your home, the less stuff you'll have to pack up, haul across town, unload, and organize. Be ruthless with your stuff. That coat you think is cute but haven't worn in four months? Donate it. The very first coffee maker you ever bought that flavors your morning brew with little pieces of rust? Trash it. Doing a massive preliminary purge will have the single biggest impact on the efficiency and ease of your entire packing process. 2. Sort things by category. Instead of spending a day cleaning out your entire bedroom, spend an afternoon sorting through every article of clothing you own. Scour every coat closet, dirty clothes hamper, and laundry room until you've got all your clothes in one place. Then sort. Do the same thing for books, shoes, important papers, and the like. 3. Schedule a free donation pickup. Save yourself a trip to your local Goodwill and schedule a free MakeSpace pickup. In addition to picking up and storing practically anything (including furniture), we'll also pick up your donation and drop it off to Goodwill - at no extra charge. Pro Tip: If you'd like to donate to a different charity, use donationtown.org to schedule a free pickup at your home. All you have to do is put your giveaway items in boxes and leave them on your doorstep. The good men and women of Donation Town will then pick up your stuff and deliver it to a local charity of your choice. 4. Set aside stuff to sell. You probably have a few items you no longer want, but would love to get a little money for. If that's the case, set these items aside and determine where you can sell them. If it's furniture, Craigslist or AptDeco might be your best bet. If it's brand name clothing, you could try Poshmark or a local consignment store. For specialty items like a gently used Coach purse or your collection of 90's Beanie Babies, get on eBay. Once you have everything sorted, set a date on your calendar to visit the nearest Buffalo Exchange or craft descriptions of the items you plan to sell online. 5. Research professional moving companies. Research is never fun. Yelp and Google will overwhelm you with the sheer volume of choices for moving companies to hire, but don't give in to the pressure and pick the first four-star rating you see. A moving company can often make or break your entire moving experience, so it's important to get it right. The more effort you put into finding a reputable company with excellent customer service ahead of time, the less hassle you'll have on moving day. Make sure to read the company's list of services, fine print, and refund or damage policies, too. For example, some companies don't lift items that aren't in boxes (so your stuffed-to-the-brim duffel bags won't make the cut), while others ask for full payment several weeks early. Find out the specifics so there are no unwelcome surprises come moving day. 6. Pick the right moving day. Hire your movers at least a month out so you can plan accordingly. If you have a flexible schedule, play around with potential moving dates and try to find the cheapest time of month to make an appointment. Moving companies are busiest on weekends, so if you can skip the Saturday chaos and schedule your move for a Tuesday, you might get a significant discount. 7. Map out the best way to get to your new home. Whether you're moving to NYC, across the country, across state lines, or just to a neighboring town, you're going to need an efficient travel route so you don't waste your move-in day sitting in gridlock traffic or pulling over three different times to type an address into your GPS. Figure out the easiest, most efficient way to get where you're going. Look up potential highway construction schedules ahead of time. And take traffic, detours, and necessary stops into account when you're making your plan. 8. Create a master moving to-do list When you move homes, you inevitably end up having 600 different things to do and remember. Don't let all these tasks and important reminders, no matter how seemingly obvious, slip your mind. Write them down somewhere. Put them in the Notes app on your phone, in the to-do list app Wunderlist that professional organizer Anna Bauer recommends, or go old-school with a giant yellow legal pad. No detail is too insignificant. You just remembered the name of the little bookstore in town that will accept your used novels? Write it down. Not sure which novels to donate? Here's how to decide what books to keep or get rid of. You stuck that extra screw from the broken drawer next to the sink? Take note. You have to return your cable box to your provider at least one day before you leave? Jot it down. 9. Put moving tasks on your calendar. Take your organization a step further and spend an evening mapping out everything you have to do. Get an oversized calendar and mark the empty white boxes with important daily tasks to prepare for your move. Tuesday: Call moving company. Wednesday: Sort through toiletries. Thursday: Buy new sheets. An added bonus to using the calendar method is that breaking up your tasks by day makes them seem more manageable. Also, don't forget to add "celebrate with wine" somewhere in there to give you something to look forward to. 10. Get moving boxes from your local liquor store. Pay a visit to your local liquor store (that's where you can buy the aforementioned wine) to see if they recycle their used boxes. If so, ask if you can grab a handful so you're saving a little paper in your moving journey. Just make sure the boxes are very gently worn and that you only use them to hold lightweight items like linens and towels. You don't want to deal with ripped boxes and broken valuables on the big day. 500 Park

Read more